
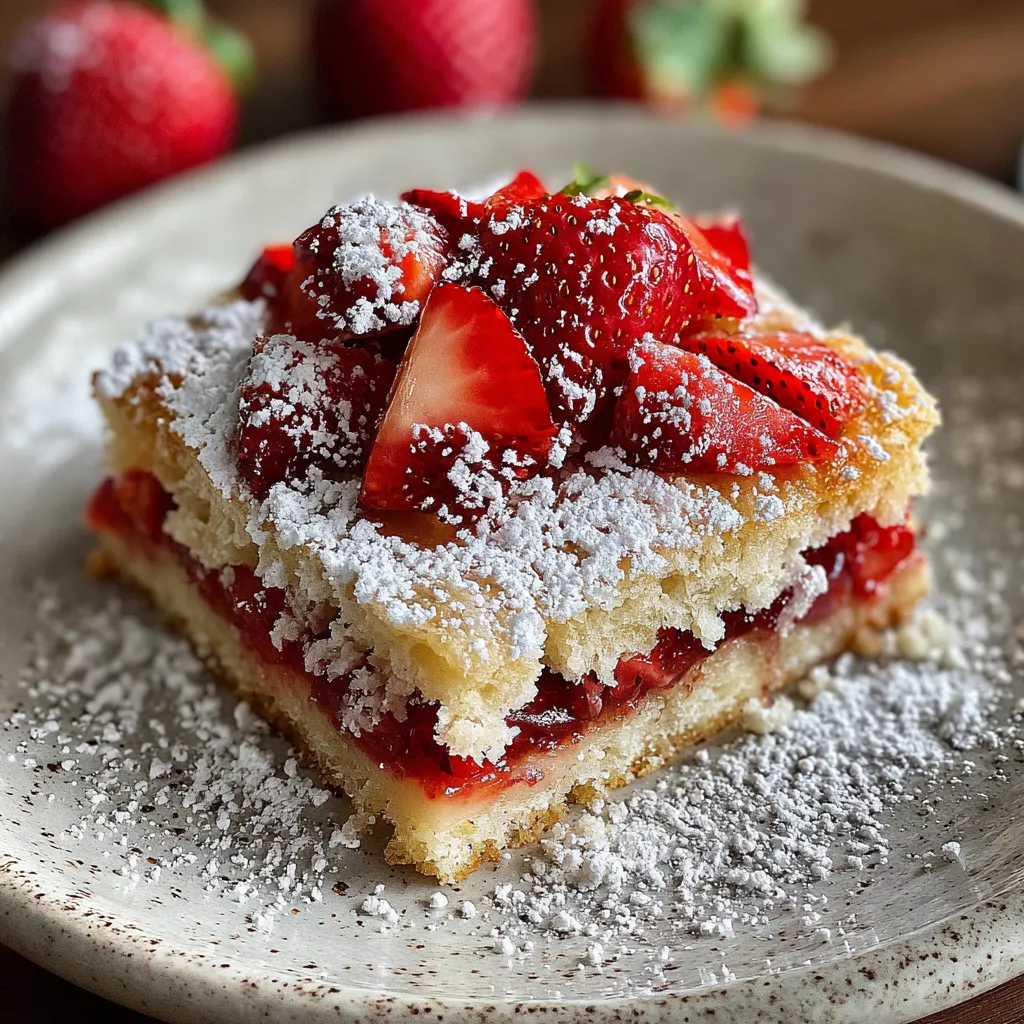
Strawberry Shortcake Bars are the perfect way to celebrate the sweet-tart buzz of fresh strawberries nestled in a tender, buttery crust and finished with a silky vanilla drizzle. With a playful balance of textures and flavors—thanks to a delicate shortbread base, juicy macerated berries, and a smooth glaze—this dessert is bound to become your go-to treat for summer gatherings, afternoon tea, or a simple weeknight indulgence. Give it a whirl and watch everyone’s faces light up with each melt-in-your-mouth bite!
Let’s round up the essentials that turn everyday pantry staples into Strawberry Shortcake Bars magic:
Baking Strawberry Shortcake Bars is a delightfully straightforward process. You’ll start by preparing a buttery shortbread crust, then layer on sweet, macerated strawberries, top it all off with crumbly dough clusters, and finish with a smooth vanilla glaze. Follow these step-by-step instructions to achieve perfect layers of tender crust, juicy berry filling, and that picture-perfect drizzle.
1. Preheat the oven to 350°F and line a 9×9-inch baking pan with parchment paper, leaving an overhang for easy removal. Position the rack in the center for even heat distribution.
2. In a large bowl, cream together the softened butter and 3/4 cup granulated sugar until light and fluffy, about 2–3 minutes with an electric mixer, scraping down the bowl as needed.
3. Stir in the vanilla extract, mixing just until incorporated to infuse the dough with aromatic warmth.
4. In a separate bowl, whisk together the flour, baking powder, and salt until evenly combined and free of lumps.
5. Add the dry ingredients to the butter mixture and mix on low speed until a soft dough forms, ensuring no streaks of flour remain.
6. Reserve about 1 cup of dough for the topping, then press the remaining dough evenly into the prepared pan to form a uniform crust.
7. Bake the crust for 12 minutes or until it begins to set but has not browned, which keeps it from overcooking during the second bake.
8. Meanwhile, toss the diced strawberries with 1/4 cup granulated sugar and lemon juice in a medium bowl, letting them macerate for at least 5 minutes to release their juices.
9. Remove the crust from the oven and spread the strawberry mixture evenly over it, including any syrupy juices.
10. Crumble the reserved dough over the strawberries in small clusters, creating a rustic, crumbly topping.
11. Return the pan to the oven and bake for 25 to 30 minutes, until the top is lightly golden and the filling is bubbling at the edges.
12. Allow the bars to cool completely in the pan on a wire rack, giving the layers time to set before glazing.
13. Whisk together the powdered sugar and milk until smooth, then drizzle the glaze over the cooled bars in a back-and-forth motion.
14. Use the parchment overhang to lift the bars out of the pan and cut into squares, wiping your knife between cuts for clean edges.
These bars shine on their own, but if you want to elevate the experience, try these fun serving ideas! Whether you’re hosting a summer picnic or a cozy afternoon tea, these suggestions will take your bars to the next level. From a dollop of whipped cream to a scoop of ice cream, these ideas highlight the bars' buttery crust and juicy strawberries. Let's make every bite a moment to remember!
Nailing these Strawberry Shortcake Bars comes down to a few simple details that take them from good to unforgettable. Chill and drain where needed, bake just until the crust sets, and use high-quality ingredients for maximum flavor impact. Whether you’re sharing with friends or savoring a solo treat, these tips will help you achieve that ideal balance of buttery, crumbly crust and plump, juicy strawberries every single time.
Once your Strawberry Shortcake Bars are baked and glazed, knowing the best way to store them will keep them tasting fresh and delicious. Whether you plan to enjoy them over the next few days or freeze extras for later, proper storage preserves that tender crust and juicy filling. Here are some foolproof methods to maintain their flavor and texture until you’re ready to indulge again:
Got some questions? Let’s clear them up so your baking adventure goes off without a hitch:
A: The total time is about 1 hour. Preparation takes roughly 20 minutes, including softening the butter, measuring ingredients, creaming together the dough, and tossing the strawberries. Baking is done in two stages: 12 minutes for the crust and an additional 25 to 30 minutes after adding the strawberry layer and crumble topping. Allow extra time for the bars to cool completely before glazing, about 20 minutes, plus a few more minutes to whisk and drizzle the glaze.
A: Fresh strawberries are recommended to prevent excess moisture, but you can use frozen if well drained. Thaw the strawberries completely, then gently pat them dry with paper towels to remove excess liquid. Ideally, toss them with the sugar and lemon juice just before assembling to maintain the right texture and prevent a soggy filling.
A: If your dough is sticky and difficult to handle, chill it in the refrigerator for 10 to 15 minutes until it firms up slightly. If the dough seems too dry and crumbly, add 1 teaspoon of milk or cold water at a time until it holds together. Be careful not to add too much liquid, as this can make the crust dense and affect baking time.
A: Prebake the crust only until it begins to set and still looks pale, about 12 minutes. Keep your oven rack in the center position and use an oven thermometer to verify accurate temperature. If the crust edges start to brown too quickly, loosely cover the pan with a piece of foil during the second bake to protect the bottom while allowing the topping to crisp.
A: Glazing warm bars will cause the powdered sugar and milk mixture to melt and run off, resulting in a thin, uneven coating. Allowing the bars to cool completely—about 20 to 30 minutes in the pan—ensures the glaze sets on the surface, creating a smooth, opaque drizzle that holds its shape when cut and served.
A: Once glazed, store the bars in an airtight container in the refrigerator for up to 3 days. For longer storage, cut the bars into squares, arrange them in a single layer on a parchment-lined baking sheet, and freeze until firm (about 1 hour). Transfer the frozen bars to a freezer-safe bag or container for up to 1 month. Thaw in the refrigerator for a few hours before serving.
A: Yes. You can replace or combine strawberries with other berries such as raspberries or blueberries. Adjust the sugar in the filling to taste—berries with higher natural sweetness may need less added sugar. For stone fruits like peaches or nectarines, peel and dice them, then proceed as directed. Note that fruits with higher water content may require extra draining to keep the filling from becoming soggy.
What really sets these Strawberry Shortcake Bars apart is that dreamy trifecta of flaky, buttery crust, a vibrant, juicy strawberry layer, and a silky vanilla glaze that brings it all together. It’s the perfect fusion of textures and flavors—sweet, tart, crumbly, and creamy—wrapped up in a simple bar that even novice bakers can master. Feel free to print this article, save it for later, and share your results or questions below. I can’t wait to hear how your batch turns out!
Buttery shortbread crust layered with macerated strawberries and drizzled with vanilla glaze offers a playful balance of sweet and tart flavors that melt in your mouth.

Hi, I'm Matthew Roberts, founder of Food Recipes USA! As a culinary historian and fourth-generation restaurateur, I've dedicated my life to preserving, celebrating, and evolving the rich tapestry of American cuisine.