
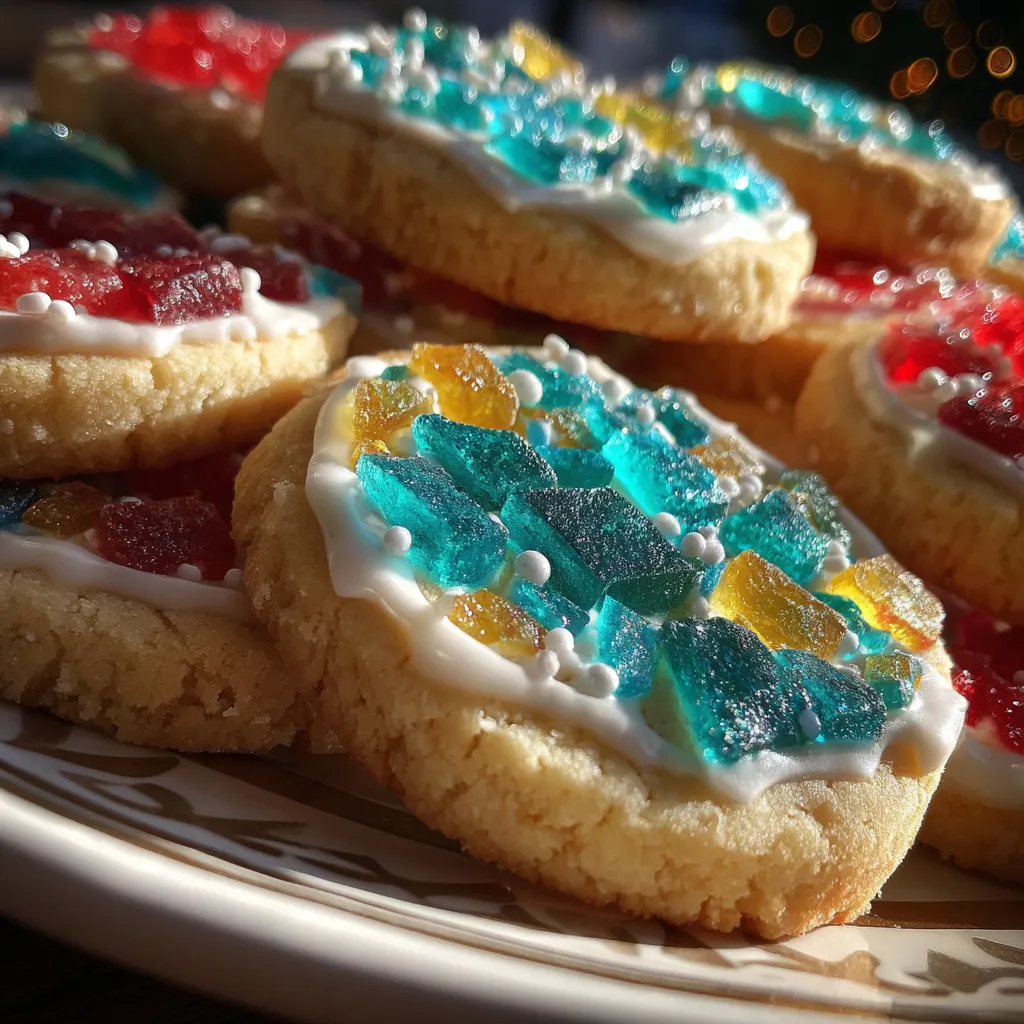
These stained glass cookies turn simple sugar dough into shimmering jewels that light up any celebration. Crisp edges frame translucent candy centers that glisten like colored glass, making every bite feel like a sweet treat and a mini work of art. Whether you’re baking for holidays, parties, or just because, this recipe is guaranteed to impress both your eyes and your taste buds.
Gathering quality ingredients sets you up for success—each component plays a key role in creating tender, flavor-packed cookies with dazzling, candy-filled windows.
With just a few simple bowls, an electric mixer, and some cookie cutters, you’ll be turning out festive treats in no time. The process involves mixing dry and wet ingredients separately for perfect texture, chilling for easy handling, rolling and cutting fun shapes, filling with candy shards, and baking until golden. Ready to see your dough transform into jewel-like windows? Follow the steps below, keeping an eye on thickness and candy levels for stellar results every batch.
1. In a medium bowl, whisk together the all-purpose flour, baking powder, and salt. Set aside this dry mixture for later use.
2. In a large mixing bowl, use an electric mixer on medium speed to cream together the softened butter and granulated sugar until the mixture is light and fluffy, about 2–3 minutes.
3. Add the egg, vanilla extract, and almond extract to the butter-sugar mixture. Continue to beat until well combined and smooth.
4. Gradually add the reserved dry flour mixture to the wet ingredients, mixing on low speed until just combined. Do not overmix; the dough should come together but still be slightly crumbly.
5. Divide the dough into two equal portions and shape each portion into a flat disc. Wrap each disc tightly in plastic wrap and refrigerate for at least 1 hour, or until firm.
6. Preheat your oven to 350°F (175°C) and line a baking sheet with parchment paper.
7. Once chilled, take one disc of dough out of the refrigerator. On a lightly floured surface, roll out the dough to about ¼ inch thickness.
8. Use cookie cutters to cut out desired shapes, making sure to cut the centers out of the cookies to create windows. Place the cut-outs onto the prepared baking sheet.
9. Carefully fill the center of each cookie shape with the crushed hard candies. Do not overfill, as the candies will melt and spread during baking.
10. Repeat the rolling, cutting, and filling process with the second disc of dough.
11. Bake the cookies in the preheated oven for 8–10 minutes, or until the edges are lightly golden. The candy centers should be melted but not bubbling.
12. Allow the cookies to cool on the baking sheet for a few minutes before transferring them to a wire rack to cool completely. The candy will harden as it cools, creating a beautiful stained glass effect.
13. If desired, sprinkle colored sanding sugar around the edges of the cookies as a finishing touch before they cool completely.
These treats aren’t just pretty—they’re versatile. Whether you’re pairing them with a warm drink or stacking them in gift boxes, there are endless ways to enjoy these jewel-like cookies.
Nailing the perfect stained glass effect is all about attention to detail. Chill your dough well, roll it out evenly, and keep your candy pieces small so they melt into smooth, glossy centers. With these handful of friendly tips, you’ll breeze through the process and end up with cookies that sparkle like tiny works of art. Don’t be afraid to play with shapes and colors—this recipe is as much fun to customize as it is to eat!
Keeping your stained glass cookies fresh and crisp is simpler than you might think. Proper storage prevents sticking, preserves the clear candy centers, and lets you enjoy these beauties for days. Here are a few tried-and-true methods to lock in that perfect texture and shine.
Here are some quick answers to your top questions:
A: The active prep time is about 20–30 minutes, chilling the dough takes at least 1 hour, baking requires 8–10 minutes per batch, and cooling until the candy centers harden takes another 10–15 minutes. In total, plan for approximately 2 hours from start to finish.
A: Yes. Divide the dough into discs, wrap each tightly in plastic wrap, and freeze for up to three months. When ready to bake, thaw overnight in the refrigerator, then roll, cut, and bake as directed.
A: Clear hard candies like Jolly Ranchers or Life Savers are ideal for bright, translucent centers. Remove all wrappers, place the candies in a sealed bag, and crush them into small, pea- to rice-sized pieces for even melting without large air pockets.
A: Fill the window cuts sparingly, spreading the crushed candy evenly but not piling it. Bake on parchment or a silicone mat, and watch closely after 8 minutes. Remove the cookies when the centers have just melted and appear glossy but not bubbling.
A: Over-soft dough, insufficient chilling, or rolling thinner than ¼ inch can cause spreading. Always chill the dough discs for at least an hour, roll to a consistent ¼-inch thickness on a lightly floured surface, and bake with the tray centered in the oven to minimize hot spots.
A: Once fully cooled, layer the cookies in an airtight container with parchment or wax paper between each layer to prevent sticking. Store at room temperature for up to one week, and avoid humid environments to maintain crisp edges and clear candy centers.
A: You can omit or swap the almond extract for lemon, peppermint, or another flavor. For gluten-free cookies, use a cup-for-cup gluten-free flour blend. To make them dairy-free, substitute vegan butter; just ensure any candy you use is free of animal-derived ingredients.
There’s something undeniably magical about watching crushed candies melt into glossy, colored panes you can literally see through. This recipe strikes the perfect balance between crisp sugar cookie edges and soft, translucent centers that sparkle in the light. The dual-extract flavor combo keeps each bite interesting, and the simple technique makes it fun for bakers of all levels. Feel free to print this article and tuck it into your recipe binder for party prep or holiday baking. If you give these cookies a try or have any questions, I’d love to hear your feedback and stories in the comments!
Sugar-dusted dough bakes into crisp edges framing molten candy centers that harden into translucent shards. Each bite crackles with sweetness, offering crunchy texture and glossy bursts of color.

Hi, I'm Matthew Roberts, founder of Food Recipes USA! As a culinary historian and fourth-generation restaurateur, I've dedicated my life to preserving, celebrating, and evolving the rich tapestry of American cuisine.