
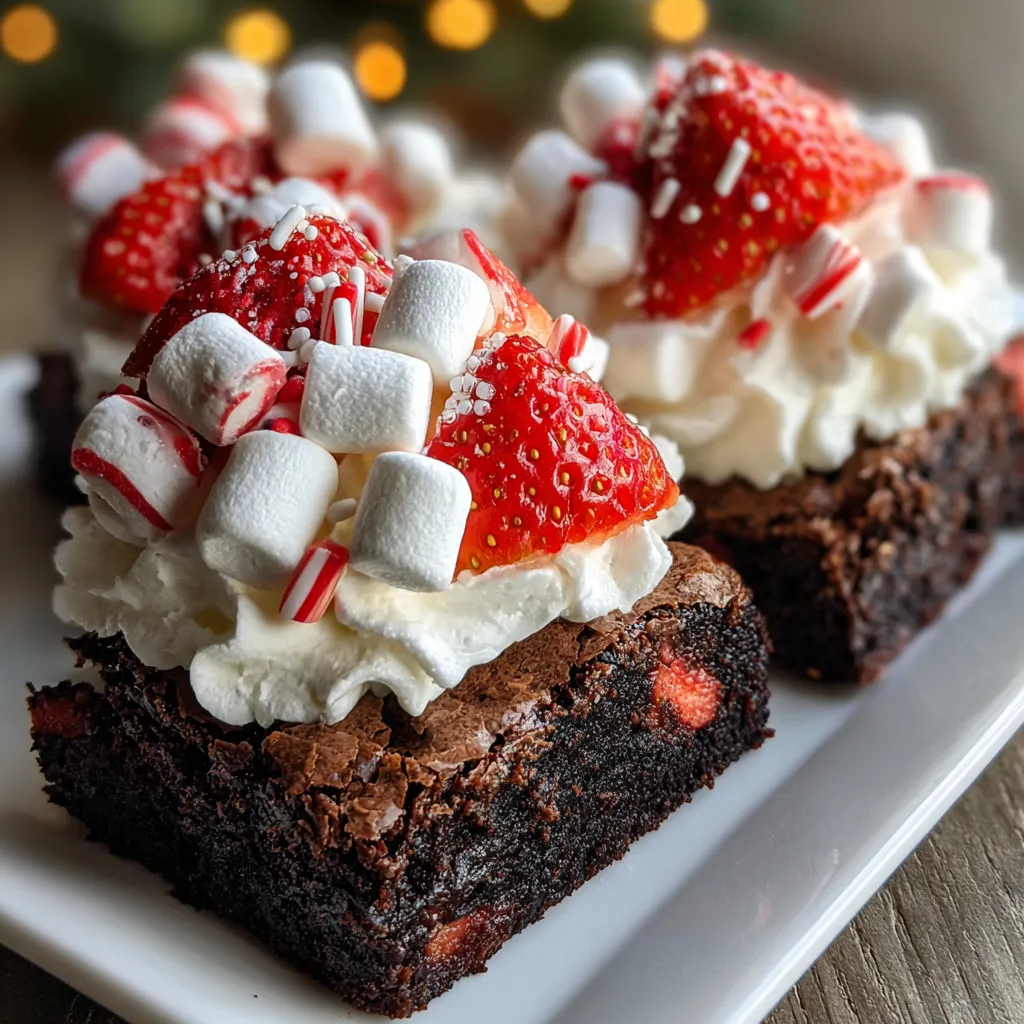
Get ready to celebrate the holidays with a treat that’s both adorable and utterly delicious. Santa Hat Christmas Brownies combine fudgy chocolate squares with tangy cream cheese frosting and bright red strawberries that look just like tiny Santa hats. These festive bites are perfect for sharing at holiday parties, baking with the kids, or surprising friends with a homemade gift. With simple ingredients and beginner-friendly steps, you’ll be decking your dessert table in no time!
Before you dive into decorating, round up these simple yet festive ingredients to bring your Santa hats to life:
This recipe is all about simple steps and big holiday fun. You’ll start by baking a classic box of brownies, then let creativity take the lead as you frost and top each square with festive flair. From preheating the oven to adding the final sprinkle, every step is designed to be beginner-friendly and packed with holiday cheer.
1. Preheat your oven to the temperature specified on the brownie mix box, ensuring even baking.
2. Prepare the brownie mix according to the box instructions, whisking together eggs, oil, and water until the batter is smooth and glossy.
3. Pour the batter into a greased or lined 8×8-inch (or 9×9-inch) baking pan and use a spatula to spread it into an even layer.
4. Bake in the preheated oven for 20–25 minutes, or until a toothpick inserted into the center comes out with a few moist crumbs.
5. Remove the pan from the oven and let the brownies cool completely on a wire rack, which prevents the frosting from melting later.
6. While the brownies cool, wash, dry, and hull the strawberries, leaving a clean red base for each hat.
7. Once cooled, cut the brownies into 2-inch squares or rectangles to form the “bases” of the Santa hats.
8. Using a knife or spatula, spread a layer of whipped cream cheese frosting on top of each brownie square for a flat, snowy surface.
9. Place a strawberry upside down on each frosted square to represent Santa’s hat.
10. Add a small dollop of whipped cream cheese frosting to the tip of each strawberry to mimic the fluffy pom-pom.
11. Sprinkle red and white sprinkles around the edge of the frosting for extra festive flair (optional).
12. Repeat with remaining brownie squares until all are decorated and ready for merrymaking.
13. Serve immediately or refrigerate until you’re ready to enjoy these joyful bites.
Santa Hat Christmas Brownies are as fun to serve as they are to eat. Here are some playful ways to present and enjoy them at your next gathering:
These Santa Hat Christmas Brownies are foolproof, but a few insider tips can help you level up your festive baking game. Always allow the brownies to cool fully before frosting to maintain clean lines and prevent melty mishaps. Use a piping bag for more precise frosting details, and opt for strawberries that are uniform in size so each hat looks picture-perfect. Chill the assembled brownies briefly to set the frosting and keep everything snug in place—especially if you plan to transport them. Above all, have fun experimenting with colors and textures to make these treats uniquely yours.
Keeping your Santa Hat Brownies fresh and festive is easy with the right storage methods. Whether you’re prepping in advance or saving leftovers, follow these tips to maintain flavor, texture, and that adorable hat shape:
Here are a few quick answers to common questions about making these festive brownies:
A: It takes about 75 minutes to prepare this recipe. That includes 10 minutes to mix the brownie batter, 25 minutes to bake, 30 minutes to cool completely, and 10–15 minutes to frost and decorate each brownie square.
A: Yes, you can substitute homemade brownie batter for a personalized flavor. Prepare your favorite recipe, pour it into an 8×8-inch or 9×9-inch pan, and bake according to your recipe’s instructions. Ensure the brownies are fully cooled before decorating to prevent the frosting from melting.
A: To keep strawberries secure, spread a thick, even layer of whipped cream cheese frosting on each brownie square and press each strawberry gently but firmly into the frosting. Chilling the brownies for a few minutes after assembly helps the frosting set, which will hold the strawberries in place.
A: Store decorated brownies in an airtight container in the refrigerator for up to 3 days. Arrange them in a single layer to prevent the strawberries and frosting from being squashed. Remove from the fridge and let sit at room temperature for about 10 minutes before serving for the best texture.
A: You can bake and cool the brownies a day in advance and keep them covered at room temperature. You can also prepare the frosting and wash, dry, and hull the strawberries the day before, storing the frosting in the refrigerator and the strawberries in a sealed container. Assemble the hats on the day you plan to serve.
A: You can swap the whipped cream cheese frosting for vanilla buttercream or stabilized whipped cream if preferred. If you change the frosting, make sure it’s firm enough to hold the strawberries upright. You can also add crushed peppermint, colored sanding sugar, or red and white sprinkles for extra festive flair.
A: For gluten-free brownies, use a gluten-free boxed mix or homemade GF recipe. To make them dairy-free, choose dairy-free frosting and vegan brownie mix, and use a plant-based cream cheese alternative. Check all ingredient labels to ensure they meet your dietary needs.
Santa Hat Christmas Brownies are the ultimate holiday crowd-pleaser because they blend a classic chocolatey treat with bright, tart strawberries and silky cream cheese frosting—plus a sprinkle of whimsy in every bite! This recipe works so well thanks to its simple steps and colorful presentation, making it perfect for bakers of any skill level. Feel free to print this article and save it for your next festive gathering. When you try it, drop a comment or question below—I’d love to hear how your mini Santa hats turned out!
Soft chocolate squares crowned with tangy cream cheese frosting and plump strawberry hats, sprinkled with red and white for a playful, festive bite.

Hi, I'm Matthew Roberts, founder of Food Recipes USA! As a culinary historian and fourth-generation restaurateur, I've dedicated my life to preserving, celebrating, and evolving the rich tapestry of American cuisine.