
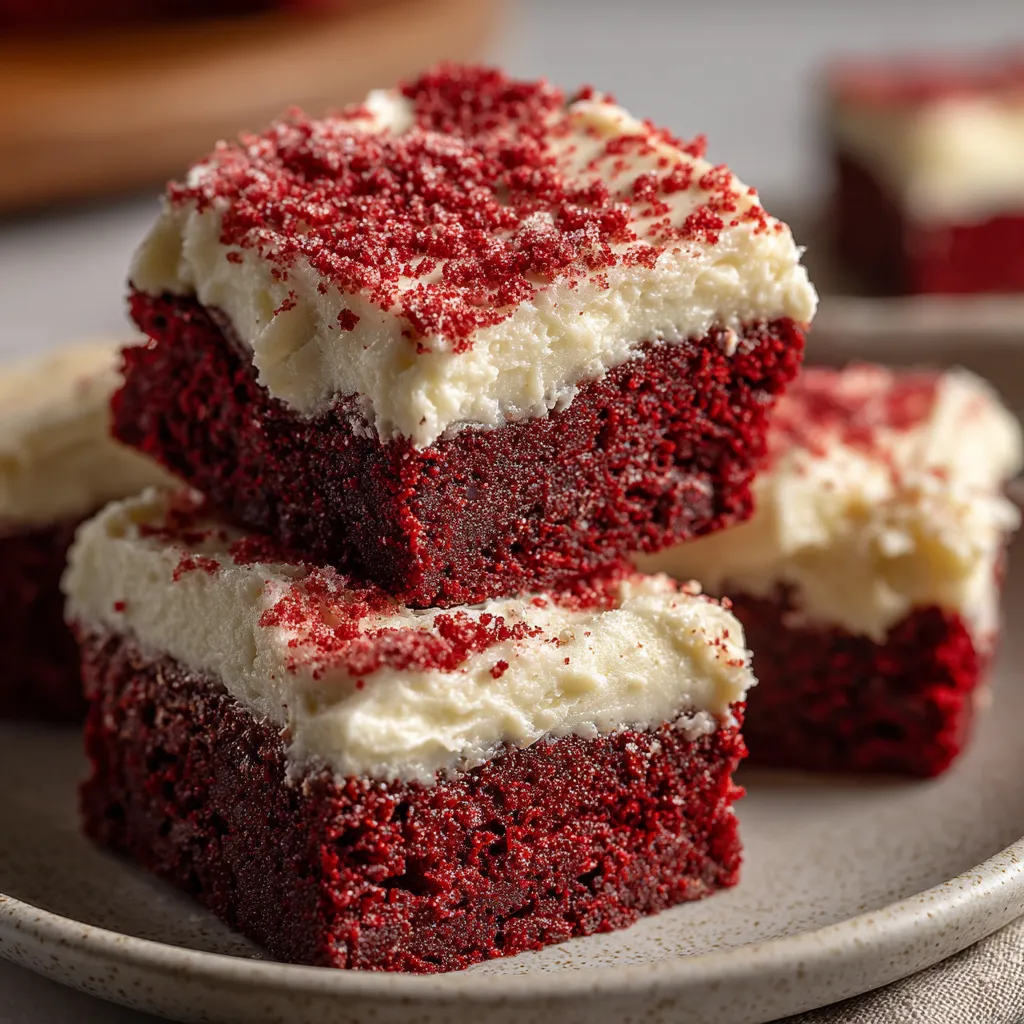
Red Velvet Brownies with Cream Cheese Frosting give you lush crimson squares crowned with silky frosting for a festive twist on a beloved classic. Bite into tender brownies with a whisper of cocoa, topped by pillowy cream cheese frosting that melts smoothly with each bite. This beginner-friendly dessert transforms simple pantry staples into a deep-red, moist-crumb delight perfect for holiday sweets or an everyday treat. Ready to whip up something show-stopping? Let’s dive in!
Before we get baking, gather these simple yet crucial ingredients that deliver color, structure, and that dreamy frosting finish.
Ready to transform these ingredients into a show-stopping dessert? Follow these detailed steps for fudgy brownies topped with fluffy cream cheese frosting—you’ll learn how to blend, bake, and frost like a pro.
1. Preheat the oven to 350°F (175°C) and line an 8×8-inch baking pan with parchment paper, leaving an overhang on two sides for easy removal.
2. In a large bowl, whisk together the melted butter and granulated sugar until the mixture is smooth and glossy.
3. Add eggs one at a time, beating well after each addition, then stir in vanilla extract and red food coloring until the batter turns evenly crimson.
4. Sift the cocoa powder, flour, baking powder, and salt into the wet ingredients, then gently fold with a spatula until just combined—avoid overmixing.
5. Pour the batter into the prepared pan and spread it out evenly with a spatula so the brownies bake uniformly.
6. Bake for 20 to 25 minutes, or until a toothpick inserted in the center comes out with a few moist crumbs attached.
7. Allow the brownies to cool completely in the pan on a wire rack—this prevents the frosting from melting.
8. In a medium bowl, beat the softened cream cheese and butter together until creamy, then mix in the vanilla extract.
9. Gradually add powdered sugar, beating until the frosting is smooth, thick, and fluffy.
10. Spread the cream cheese frosting over the cooled brownies, slice into squares, and serve immediately or chill before enjoying.
Present these decadent brownies in style by trying one of these delightful serving ideas:
Nailing these brownies is easier than you think—just follow a few simple pointers to elevate your bake and frosting game, ensuring every bite is as stunning as it tastes.
Keeping your brownies fresh and flavorful is a breeze when you choose the right storage method. Whether you want fridge-ready treats or long-term freezer options, here’s how to preserve their texture and taste.
Here are some quick answers to your burning questions:
It takes about 10 minutes to measure and mix the brownie batter, plus 20 to 25 minutes to bake. Cooling the brownies completely before frosting adds another 30 to 45 minutes. Making and spreading the cream cheese frosting takes about 10 minutes. In total, plan for roughly 75 to 90 minutes from start to finish, including cooling time.
Yes, gel food coloring can be substituted for a more vibrant red hue. Use about 1 teaspoon of gel coloring in place of the 1 tablespoon of liquid. Start with 1 teaspoon and add more in ¼ teaspoon increments until you achieve your desired intensity, mixing well after each addition.
Make sure your oven racks are centered and the pan is on the middle rack. Line the pan with parchment paper to prevent sticking and allow even heat distribution. If you notice edges browning too quickly, loosely tent the pan with foil for the last 5 to 10 minutes of baking to protect the edges while the center finishes cooking.
Insert a toothpick into the center after 20 minutes of baking. The brownies are done when the toothpick comes out with a few moist crumbs attached, but not wet batter. If the toothpick is dry, they may be overbaked and will be drier; if it’s coated in batter, bake for an additional 2 to 3 minutes and test again.
Yes, you can make the frosting up to a day in advance. Store it in an airtight container in the refrigerator. Before spreading, let it sit at room temperature for 15 to 20 minutes and give it a quick whip with a hand mixer to restore its smooth, fluffy texture.
Place the frosted brownies in an airtight container or cover the pan tightly with plastic wrap. Store them in the refrigerator for up to 4 days. If you prefer them at room temperature, allow them to sit out for about 15 minutes before serving to soften the frosting.
Yes. Replace the cream cheese with a dairy-free cream cheese alternative and use a vegan butter substitute. Ensure the powdered sugar contains no bone char. Beat the dairy-free cream cheese and butter substitute until creamy, then mix in vanilla and powdered sugar as directed.
You can freeze unfrosted or frosted brownies. For unfrosted brownies, wrap tightly in plastic wrap and then foil, and freeze for up to 3 months. For frosted brownies, freeze in a single layer in an airtight container. To thaw, transfer to the refrigerator overnight, then bring to room temperature for 20 to 30 minutes before serving.
These Red Velvet Brownies with Cream Cheese Frosting deliver all the fudgy goodness of a brownie wrapped in the velvet-cake magic we love. The deep red color, subtle cocoa notes, and tangy-sweet cream cheese topping make every bite feel like a celebration. They’re beginner-friendly, yet impressive enough for festive gatherings. Print and save this recipe so you can bake again and again, and don’t forget to drop a comment or question below if you give it a try or need any help—you’ll be the neighborhood hero with these beauties!
Bite into tender red velvet brownies with a whisper of cocoa, topped by pillowy cream cheese frosting that melts smoothly with each bite. Deep red color, moist crumb, and creamy sweetness combine for a memorable treat.

Hi, I'm Matthew Roberts, founder of Food Recipes USA! As a culinary historian and fourth-generation restaurateur, I've dedicated my life to preserving, celebrating, and evolving the rich tapestry of American cuisine.