
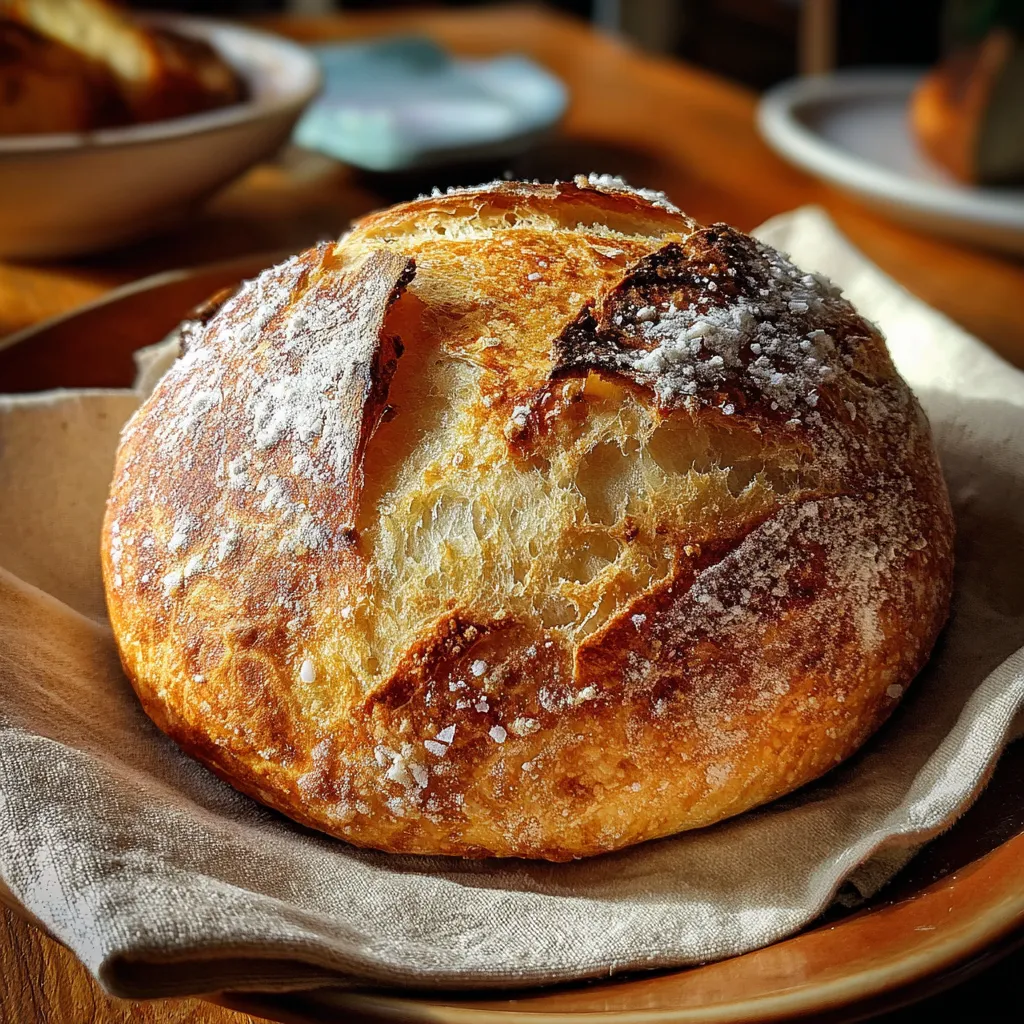
Baking your own artisan-style loaf has never been easier or more rewarding. With just four basic ingredients—flour, water, yeast, and salt—and a trusty Dutch oven, you can create a golden-crusted, open-crumb masterpiece that tastes like it came straight from a bakery. This hands-off dough needs just a long, lazy rise to develop deep flavor and a bubbly texture. Trust the process, and you’ll be greeted with a crackling crust and pillowy interior that’s perfect for breakfast, sandwiches, or just tearing apart with your hands.
Before you get started, let’s chat about what goes into this simple dough and why each element matters.
Transforming these simple ingredients into a bakery-worthy loaf is mostly about time and technique rather than elbow grease. You’ll mix, rest, shape, and bake—all with minimal handling—to let natural fermentation and steam in the Dutch oven deliver that blistered crust and open crumb. Ready to dive in? Follow these steps for a foolproof loaf.
1. In a large mixing bowl, combine the all-purpose flour, instant yeast, and salt. Use a whisk or fork to mix the dry ingredients together until evenly distributed.
2. Gradually add the water, stirring with a wooden spoon or spatula until a shaggy dough forms. Keep mixing until no dry patches of flour remain—the dough should feel wet and sticky.
3. Cover the bowl with plastic wrap or a clean kitchen towel. Allow it to undergo bulk fermentation at room temperature for 12 to 18 hours, until the dough has doubled in size and is dotted with bubbles.
4. After the resting period, dust a clean work surface lightly with flour. Use a spatula to gently coax the dough from the bowl, dusting your hands with flour as needed to prevent sticking.
5. Shape the dough into a loose ball by folding its edges toward the center a few times. Transfer the dough onto a piece of parchment paper for easy handling.
6. Cover the dough with a kitchen towel and let it proof for 1 to 2 hours, until it puffs up noticeably.
7. About 30 minutes before baking, preheat your oven to 450°F (230°C), placing a Dutch oven with its lid inside to heat through.
8. Once the oven is at temperature, carefully remove the hot Dutch oven using oven mitts. Lift off the lid and, with the parchment paper, gently lower the dough into the pot. Replace the lid.
9. Bake for 30 minutes with the lid on to trap steam and create a crackly crust. Then remove the lid and bake for an additional 15 to 20 minutes until the loaf is deep golden brown.
10. Carefully lift the bread from the pot and let it cool on a wire rack before slicing to preserve the crisp exterior.
Your freshly baked loaf is ready to star at any table—breakfast feast, cozy dinner, or impromptu snack session. Here are some fun ways to enjoy every slice:
This no-knead loaf thrives on simplicity, but a few tweaks can take your bread from great to unforgettable. Embrace the lax handling, trust the slow fermentation, and you’ll be rewarded with a bakery-quality crumb and crust every time.
Keeping that crust crisp and the crumb tender is all about the right storage method. Whether you plan to devour the loaf in a day or save some for later, follow these tips to preserve its fresh-from-the-oven charm.
Here are answers to common questions that pop up when you’re making this hands-off artisan loaf:
A: The long rest, or bulk fermentation, allows the yeast to slowly develop flavor and create gas bubbles that give the bread its airy crumb. You’ll notice the dough doubles in size and forms a bubbly surface—this visual cue shows the gluten has developed and the yeast has fully fermented, resulting in a more flavorful and textured loaf.
A: You can reduce the rest time slightly, but know that a shorter ferment will yield less flavor and a tighter crumb. If you must shorten it, aim for at least 8 hours. Keep the dough in a slightly warmer spot (around 75°F/24°C) to speed up yeast activity, but avoid anything hot enough to kill the yeast.
A: Preheating the Dutch oven ensures the loaf hits a very hot surface and is enveloped in steam from the tight-fitting lid, which helps form a crisp, crackly crust. If you don’t have a Dutch oven, bake on a baking stone or sheet and create steam by placing a shallow pan of hot water in the oven or spritzing the loaf with water before baking.
A: The dough should be wet and tacky, which helps create an open crumb. To handle it, flour your hands lightly and use a bench scraper or spatula to transfer it. If absolutely necessary, dust the work surface with a bit of flour but avoid over-flouring, which can lead to a denser loaf.
A: Yes. After combining the flour, yeast, and salt, fold in your add-ins (chopped herbs, shredded cheese, seeds, etc.) just before adding water, or immediately after the dough comes together. Gently incorporate them so they distribute evenly without overworking the dough.
A: You can substitute up to half of the all-purpose flour with whole wheat flour for a nuttier flavor, though the dough will be denser and require a bit more water. Using 100% bread flour will boost gluten development for an even chewier crumb. Adjust water as needed to maintain that wet, sticky consistency.
A: Let the loaf cool completely on a wire rack to prevent moisture buildup inside. Store it at room temperature wrapped loosely in a kitchen towel or inside a paper bag; this allows air circulation so the crust stays crisp while the crumb remains soft. Avoid plastic bags, which trap moisture and soften the crust.
This no-knead Dutch oven bread is pure kitchen magic: minimal effort yields a maximum-impact, artisan-quality loaf with a blistered crust and open, chewy crumb. The slow, hands-off fermentation is as satisfying as pulling a perfect loaf from the pot, and tweaking it—herbs, cheese, bread flour—makes it endlessly customizable. Feel free to print this recipe and tuck it into your favorite cookbook for rainy-day baking. Got questions or comments after giving it a whirl? I’d love to hear about your results and help troubleshoot any dough dilemmas!
A simple flour-water-yeast dough transforms overnight into an aromatic, crusty artisan loaf. Pop it into a sizzling Dutch oven for a blistered exterior and pillowy, open crumb inside.

Hi, I'm Matthew Roberts, founder of Food Recipes USA! As a culinary historian and fourth-generation restaurateur, I've dedicated my life to preserving, celebrating, and evolving the rich tapestry of American cuisine.