
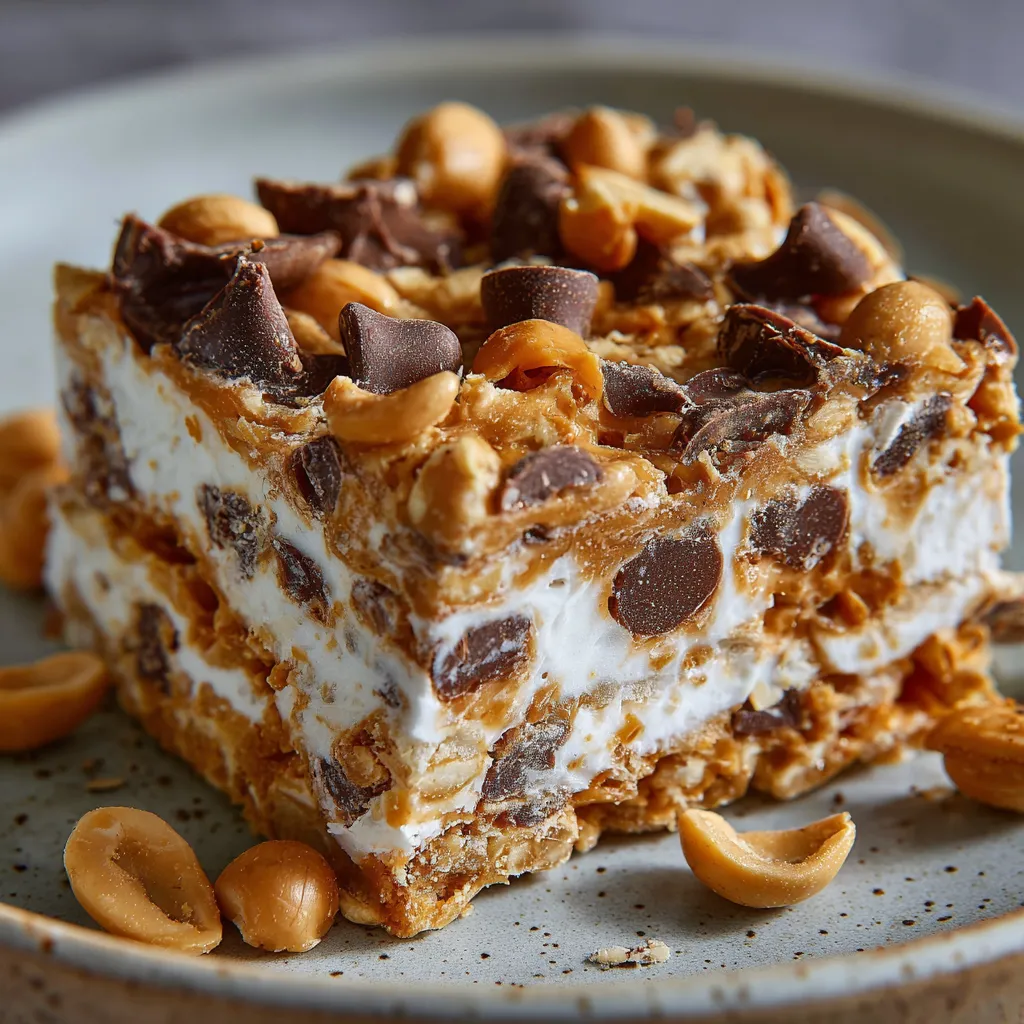
No-Bake Protein-Packed Crunchy Butterfingers are the ultimate grab-and-go snack for busy mornings, post-workout refuels, or an afternoon pick-me-up. Creamy peanut butter blends with honey and maple syrup, hugging crisp rice cereal and roasted peanuts for that irresistible crunch. With a drizzle of dark chocolate on top, these bars feel indulgent while delivering a serious protein punch. Give them a try—you’ll wonder how you ever lived without this homemade energy boost!
Before you dive into making these bars, let’s gather the essentials for that perfect blend of flavor, texture, and protein.
Crafting these bars is a breeze—you’ll be melting, mixing, and pressing everything into shape in under 20 minutes. From lining the pan to chilling the bars, each step is simple yet satisfying. Let’s break down the process so you end up with perfectly set, protein-rich Crunchy Butterfingers every time.
1. Line an 8x8-inch pan with parchment paper, making sure the sides are covered to lift the bars out easily later, then set aside.
2. In a small saucepan over low heat, combine peanut butter, honey, maple syrup, and coconut oil; stir continuously until the mixture is melted and smooth, about 3–5 minutes.
3. Remove the saucepan from the heat and stir in vanilla extract and whey protein powder until fully incorporated, forming a thick paste.
4. Gently fold in crisp rice cereal and chopped roasted peanuts, coating them evenly so every piece gets that nutty-sweet blend.
5. Transfer the mixture into the prepared pan and use a spatula or the bottom of a glass to press firmly into an even layer, ensuring there are no air pockets.
6. If using dark chocolate chips, melt them in a double boiler over low heat or in 20-second microwave bursts, stirring until silky, then drizzle over the pressed bars.
7. Refrigerate for at least 2 hours or until the bars are fully set and firm to the touch.
8. Lift the bars out of the pan using the parchment paper and cut into fingers or squares with a sharp knife for clean edges.
These No-Bake Protein-Packed Crunchy Butterfingers are incredibly versatile—here’s how to elevate your snack game:
Nailing these bars is all about technique and a few smart swaps. In my kitchen, I love customizing flavors and textures based on what I have on hand or who I’m feeding. With these tips, you’ll breeze through the recipe and enjoy a foolproof snack that feels both indulgent and nutritious.
Keeping your Crunchy Butterfingers fresh and flavorful is key to enjoying them all week long. Follow these simple storage methods to maintain texture and taste:
Here are quick answers to the most common questions about these crunchy, protein-packed bars:
It takes about 15 minutes to mix and press the ingredients into the pan, plus at least 2 hours in the refrigerator to set, for a total time of around 2 hours and 15 minutes.
Yes, you can swap in almond or cashew butter in a 1:1 ratio. The texture and binding will remain similar, though you may notice a slightly different flavor profile.
Store the bars in an airtight container in the refrigerator for up to one week. You can also freeze them for up to one month—just thaw in the fridge or at room temperature for a few minutes before serving.
Absolutely. Use your preferred plant-based or collagen protein powder in the same quantity. The flavor and texture may vary slightly, so choose an unflavored or complementary-flavored powder.
Coconut oil helps the mixture stay smooth when heated and firms up the bars in the fridge. Omitting it may result in softer, stickier bars that don’t hold their shape as well.
Melt the chocolate chips in a double boiler over low heat or microwave in 20-second bursts, stirring between each until smooth. Drizzle evenly over the pressed bars, then refrigerate until the chocolate sets.
For extra crunch, increase the crisp rice cereal by 1/2 cup or add more chopped nuts. For a chewier bar, reduce the cereal by 1/2 cup and add an extra tablespoon of honey or coconut oil.
No-Bake Protein-Packed Crunchy Butterfingers stand out because they hit the sweet spot between indulgence and nutrition. The crunchy peanut butter bars loaded with whey protein, crisp rice, and roasted peanuts deliver an energizing snack anytime—perfect for breakfast, midday boosts, or guilt-free dessert. The optional dark chocolate drizzle adds a rich finish that keeps you coming back for more. Go ahead and print this recipe to save for later, and don’t forget to drop a comment if you give it a whirl or have any questions. Happy snacking!
These no-bake bars blend creamy peanut butter and honey with crispy rice and roasted peanuts for a satisfying crunch. A dark chocolate drizzle adds a rich, indulgent finish to every protein-packed bite.

Hi, I'm Matthew Roberts, founder of Food Recipes USA! As a culinary historian and fourth-generation restaurateur, I've dedicated my life to preserving, celebrating, and evolving the rich tapestry of American cuisine.