
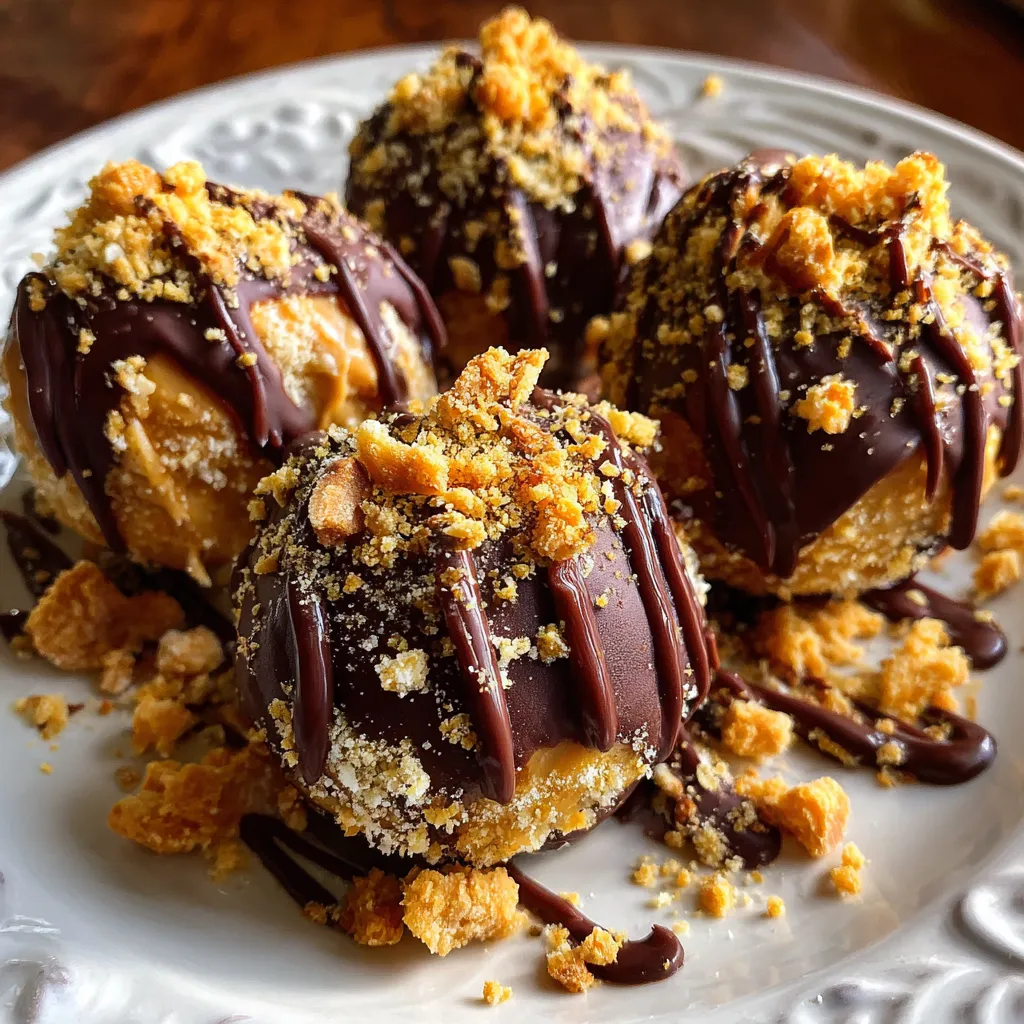
Getting a sweet fix has never been easier or more fun! These Decadent No-Bake Butterfinger Balls blend creamy peanut butter, buttery graham crumbs, and crunchy Butterfinger shards into tender centers, all enrobed in glossy chocolate. Perfect for parties, gifts, or a midweek treat, they require zero oven time and deliver maximum flavor. Ready to whip up a batch of bite-size bliss? Let’s dive in and learn how simple it is to create these crowd-pleasing delights.
Before you start rolling and dipping, gather these pantry staples that work together to create the perfect balance of creaminess, crunch, and chocolatey goodness.
This straightforward, no-bake recipe comes together in just a few easy stages: making the peanut butter–Butterfinger filling, firming it up in the fridge, and coating each blissful ball in silky chocolate. With minimal hands-on time and simple steps, you’ll be enjoying these treats before you know it.
1. In a large mixing bowl, combine 1 cup creamy peanut butter and 1/2 cup softened unsalted butter. Use a hand mixer or a wooden spoon to blend until the mixture is completely smooth and creamy, scraping down the sides as needed.
2. Gradually add 1 cup powdered sugar, starting with ½ cup at a time to avoid a powdered sugar cloud. Mix at low speed until each addition is fully incorporated before adding more.
3. Fold in 1 cup graham cracker crumbs, 1 cup crushed Butterfinger candy bars, and 1 teaspoon vanilla extract. Continue mixing until the filling is evenly combined and holds its shape.
4. Use lightly greased hands to form the mixture into 1-inch balls. Place them on a parchment-lined baking sheet, ensuring they’re spaced apart to prevent sticking.
5. Chill the baking sheet in the refrigerator for 30 minutes to allow the centers to firm up.
6. While the balls are chilling, prepare the chocolate coating: combine 2 cups semi-sweet chocolate chips and 2 tablespoons vegetable oil in a microwave-safe bowl. Microwave in 30-second intervals, stirring between each until the chocolate is completely melted and glossy.
7. Remove the chilled peanut butter balls and dip each one into the melted chocolate, coating it fully. Use a fork to lift it out and tap gently to let the excess chocolate drip off.
8. Return the coated balls to the parchment-lined sheet. Optionally, sprinkle extra crushed Butterfinger on top for added crunch and visual appeal.
9. Refrigerate the coated balls for at least 30 minutes to let the chocolate set completely.
10. Serve and enjoy your decadent no-bake Butterfinger balls, or package them up for a sweet surprise!
Whether you’re hosting a gathering or indulging your own sweet tooth, these Butterfinger balls shine in so many ways. Here are a few fun ideas to make your presentation unforgettable:
Mastering these no-bake delights is all about timing and texture. Keep your kitchen utensils dry, chill the centers thoroughly, and work swiftly when coating in chocolate to ensure a smooth finish. With practice, you’ll find the perfect rhythm for rolling, dipping, and decorating.
Proper storage makes sure each ball maintains its ideal texture and flavor. Follow these simple methods to keep your crunchy centers and glossy chocolate looking and tasting freshly made.
Here are some quick answers to common questions—because nobody wants surprises when it comes to chocolate and candy!
A: Active prep time is about 20–25 minutes for mixing and rolling the balls. You’ll need an additional 30 minutes of refrigeration to firm the centers before dipping, plus another 30 minutes after dipping for the chocolate to set. Plan for roughly 1 hour 20 minutes total, with about 1 hour of inactive chilling time.
A: Yes, you can substitute crunchy peanut butter for a more textured filling. Since crunchy peanut butter contains nut pieces, your centers will have extra crunch. The recipe ratios remain the same, so no adjustments to other ingredients are needed.
A: Add the powdered sugar in increments—about ½ cup at a time—while stirring slowly. Mixing at low speed or by hand helps keep the sugar contained. Scrape down the sides of the bowl between additions to ensure even incorporation and minimize airborne sugar.
A: Chocolate often seizes if water gets in or overheats. To rescue it, remove from heat, add a small amount of warm vegetable or coconut oil (about ½ teaspoon at a time), and stir gently until smooth. Make sure your bowl and utensils are completely dry before melting.
A: Store the Butterfinger balls in a single layer (or separated by parchment) in an airtight container. Keep them refrigerated for up to one week. For longer storage, freeze in a sealed container for up to one month, thawing in the fridge before serving.
A: Absolutely. Try chopped peanuts, graham cracker crumbs, sprinkles, sea salt flakes, or shredded coconut. Add your topping immediately after dipping and while the chocolate is still wet so it adheres properly.
A: Use a small amount of vegetable oil (about 2 tablespoons for 2 cups of chips) to thin the melted chocolate. Melt in 30-second bursts, stirring between each interval until completely smooth. Ensure the chocolate isn’t overheated—keep it just above body temperature for a glossy finish.
A: Yes. Prepare and coat the Butterfinger balls up to three days ahead. Store them chilled in airtight containers or decorative boxes. If gifting further out, freeze them for up to a month, then thaw and gift chilled or on ice packs.
What sets these Butterfinger balls apart is their harmonious blend of textures—silky peanut butter, crisp candy shards, and a shiny chocolate shell—all without firing up the oven. They’re delightfully customizable, burst with nostalgia, and come together in under an hour. Feel free to print and save this recipe for your next snack attack or party, then come back and share your own twists, comments, or questions. Your feedback makes every batch even better!
Crisp candy shards blend with silky peanut butter into tender balls, then get bathed in smooth chocolate for a rich crunch and melt-in-your-mouth finish.

Hi, I'm Matthew Roberts, founder of Food Recipes USA! As a culinary historian and fourth-generation restaurateur, I've dedicated my life to preserving, celebrating, and evolving the rich tapestry of American cuisine.