
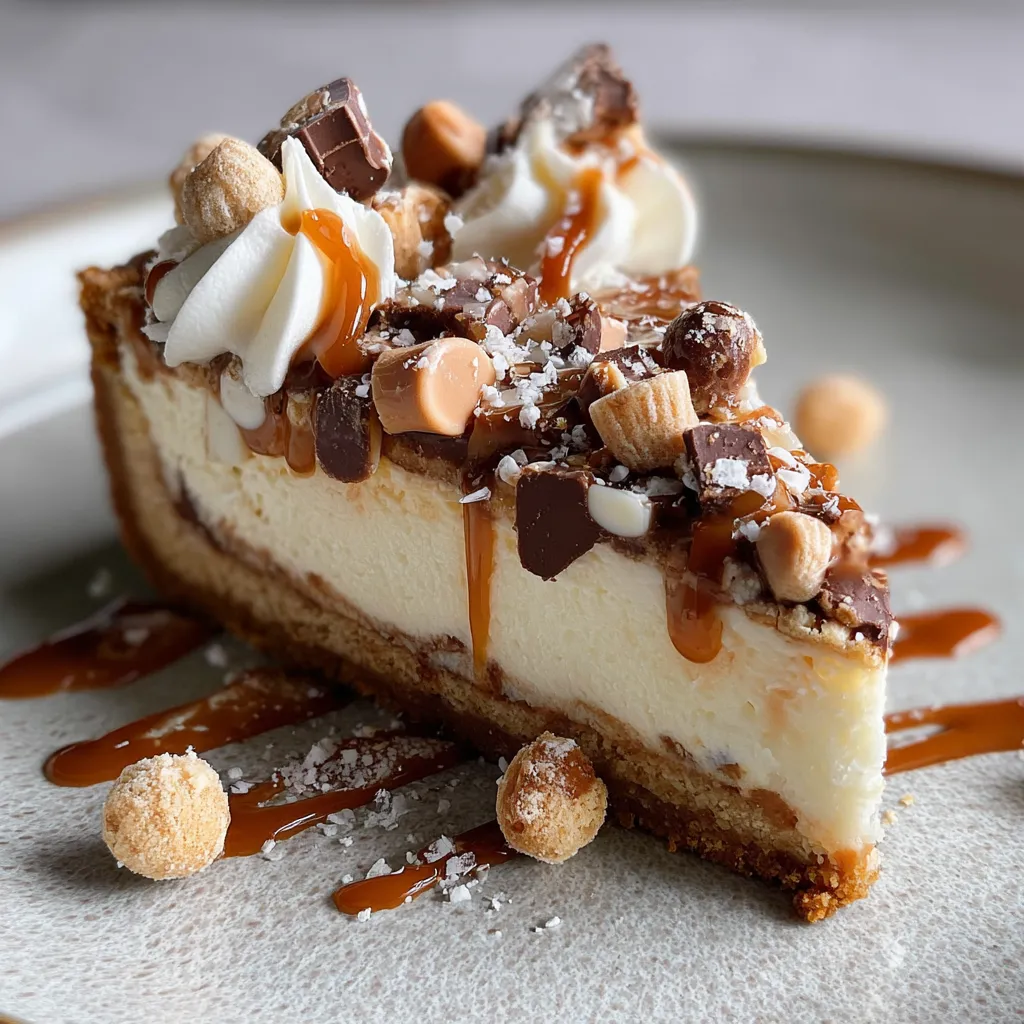
Decadent Creamy No-Bake Terrazzo Cheesecake is a silky no-bake dessert shimmering with swirls of white and dark chocolate, dotted with crunchy candy confetti. This playful, intermediate-level cheesecake brings ribbons of creamy fillings together in a stunning terrazzo pattern—no oven required! Just chill, slice, and dive into each cool, luscious bite. Whether you're hosting a dinner party or craving a sweet treat, this recipe is here to impress and satisfy. Keep reading to discover how easy it is to whip up this creamy masterpiece.
Gather these kitchen essentials to build the perfect balance of crunchy crust and airy filling:
Let’s dive into the fun process of layering and swirling to achieve that signature terrazzo look. You’ll start by crafting a sturdy graham cracker base, then whip and fold your cream cheese mixture to airy perfection. From there, splitting the batter to marry white and dark chocolate ensures each slice is a work of art. Follow these steps closely—especially when chilling and swirling—to lock in structure and pattern before the all-important chill time.
1. In a large bowl, mix graham cracker crumbs, granulated sugar, and melted butter until well combined. Press the mixture evenly into the bottom of a 9-inch springform pan and chill in the refrigerator to set the crust.
2. In a separate bowl, beat softened cream cheese and powdered sugar until smooth. Add vanilla extract and continue mixing until fully incorporated and creamy.
3. Place a chilled bowl and beaters in the fridge for a few minutes, then whip cold heavy whipping cream to stiff peaks. Gently fold the whipped cream into the cream cheese mixture until smooth and airy.
4. Divide the batter: transfer two thirds into another bowl and fold in the melted white chocolate until the mixture is uniform in color and texture.
5. Spread the white chocolate batter over the chilled crust, smoothing the surface with an offset spatula. In the remaining plain batter, fold in the mini candy-coated chocolate pieces and dollop spoonfuls over the white layer in random spots.
6. Use a thin knife or skewer to gently swirl the two batters, creating a terrazzo pattern—be careful not to overmix and lose the distinct swirls.
7. Cover the pan tightly with plastic wrap and refrigerate for at least 6 hours (or overnight) until fully set and firm.
8. Before serving, run a warm knife around the pan edge, release the springform sides, then slice and serve each piece chilled for clean edges and perfect texture.
Now comes the fun part—showing off your cheesecake! These ideas will make each slice look as stunning as it tastes:
These insider tips will help you nail the texture and pattern every single time—no surprises, just silky-smooth cheesecake perfection!
Proper storage ensures your cheesecake stays creamy and visually stunning:
Here are quick answers to common cheesecake curiosities:
A: Preparation time is about 25 minutes, which includes making and pressing the crust, whipping and folding the filling, creating the terrazzo pattern, and covering the pan. You then need to refrigerate the cheesecake for at least 6 hours or overnight to fully set before serving.
A: Chilling the pan before pressing in the crust helps it set more firmly and prevents it from crumbling when you slice the cheesecake. After you press the crust into the springform pan, an additional chill in the refrigerator firms it up so the filling layers stay crisp and defined.
A: For best results, stick to full-fat cream cheese and heavy whipping cream to maintain the rich, creamy texture. You can swap the mini candy-coated chocolates for chopped nuts or dried fruit, but altering the white and dark chocolate proportions may change the flavor and the firmness of the filling.
A: Ensure your bowl and beaters are cold by chilling them in the fridge for 10–15 minutes. Beat the heavy cream on medium-high speed until it holds stiff peaks—when you lift the beaters, the peaks should stand straight. Gently fold the whipped cream into the cream cheese and sugar mixture using a spatula to maintain an airy texture without deflating the cream.
A: After dividing the batter and adding white chocolate to one portion, spread that layer evenly over the crust. Dollop the plain batter mixed with candy pieces in random spots. Use a thin knife or skewer to make a few gentle swirls—drag it lightly through both batters just enough to form marbled patterns, avoiding deep or frequent strokes that would blend the layers completely.
A: Keep the cheesecake covered in the refrigerator for up to 3 days. Before serving, run a warm knife along the pan edge to release it smoothly, then remove the springform side. Serve chilled to maintain the firm texture and clean slices. If desired, garnish with extra candy pieces or chocolate shavings just before serving.
A: If the center feels too soft, return the cheesecake to the refrigerator and chill for an additional 2–4 hours. Make sure your fridge is at or below 40°F (4°C). Using full-fat ingredients and properly whipped cream also helps the filling set firmly.
This no-bake terrazzo cheesecake is a showstopper—those creamy white chocolate ribbons paired with pockets of dark chocolate and candy-coated crunch make every bite a playful surprise. It works because the whipped cream keeps it light, while the chilled crust holds everything together, so you get perfect slices every time. Trust me, once you taste that cool, velvety filling and dig into the candy-speckled swirls, you’ll want to print this recipe and save it for all your celebrations. Let me know in the comments how your cheesecake turned out or if you have any fun mix-in ideas!
Ribbons of creamy white chocolate and dark cocoa dance across a velvety cream cheese filling, dotted with crunchy candy confetti. No baking required—just chill, slice, and dive into each cool, luscious bite.

Hi, I'm Matthew Roberts, founder of Food Recipes USA! As a culinary historian and fourth-generation restaurateur, I've dedicated my life to preserving, celebrating, and evolving the rich tapestry of American cuisine.