
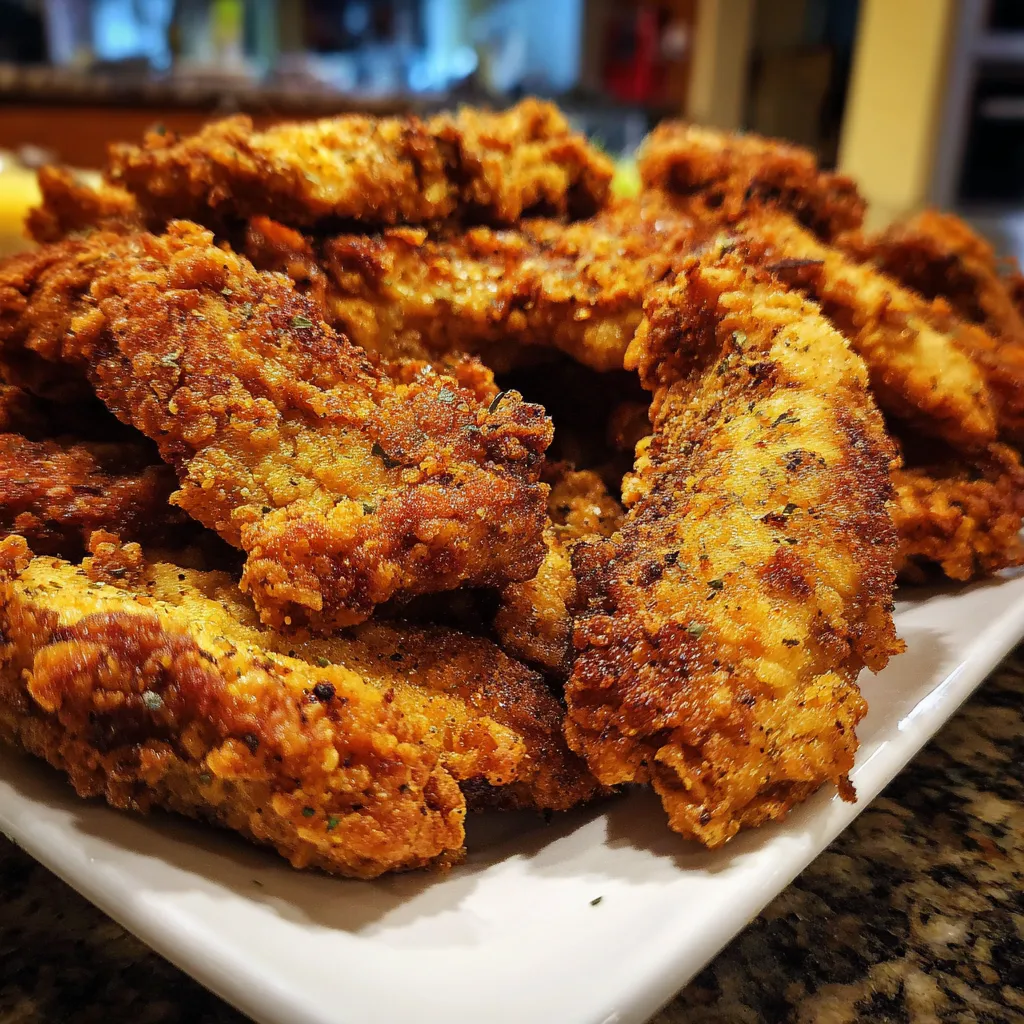
Get ready to crunch into these Crispy Chicken Fries! Thin strips of chicken breast marinated in tangy buttermilk then double-coated in seasoned flour and panko breadcrumbs, fried until golden and crunchy. Each bite gives you a satisfying snap outside and juicy tenderness inside—perfect for dunking in ketchup, honey mustard, or your favorite dip. Whether you’re serving them as a fun appetizer or a casual lunch, these chicken “fries” are a sure hit at any table.
To make these irresistible Crispy Chicken Fries, you only need a handful of pantry staples and a few simple spices. Each ingredient plays a key role in creating that golden, crunchy exterior and juicy interior you’ll love.
With just a few straightforward steps, you’ll transform raw chicken strips into golden, crisp delights that rival your favorite fast-food fries. Take your time with marinating, coating, and frying to ensure each strip cooks evenly, locking in moisture and delivering that signature crunch. Follow the instructions below, paying close attention to temperature and technique, and you’ll be feasting on homemade chicken fries in no time!
1. Slice chicken breast into thin, fry-shaped strips. Use a sharp knife to cut evenly against the grain so each strip cooks at the same rate and stays tender.
2. Place chicken strips in a bowl and pour buttermilk over them, cover and refrigerate for at least 30 minutes. This marinating step helps break down proteins for extra juiciness.
3. In a separate bowl combine flour, paprika, garlic powder, onion powder, cayenne pepper, salt, and black pepper. Whisk the seasoning mix to ensure an even flavor coating.
4. Remove chicken from buttermilk, dredge each strip in the seasoned flour, shake off excess, dip back into buttermilk, then coat evenly with panko breadcrumbs. This double-coating ensures maximum crunch.
5. Heat vegetable oil in a deep pan or fryer to 180°C (350°F). Use a thermometer to maintain the ideal frying temperature.
6. Fry chicken fries in batches for 4 to 5 minutes until golden brown and cooked through, turning as needed for even color and crisping.
7. Remove fries with a slotted spoon and drain on paper towels before serving to remove excess oil and keep them crisp.
These Crispy Chicken Fries shine on their own, but pairing them with the right accompaniments can take your snack or meal to another level. Whether you’re gathering for game day, hosting friends, or enjoying a cozy night in, these fries are begging to swim in luscious dips and mingle with fresh sides. Below are a few creative ideas to serve and savor every crunchy bite.
These little fries are super forgiving but a few smart moves can make them absolutely restaurant-worthy. From avoiding overcrowding to mastering your coating technique, these tips help you nail the ideal crisp and juicy interior every single time. Keep your station organized, your oil at the right temperature, and consider extra steps if you’re craving maximum crunch. If you follow these friendly pointers, you’ll have everyone asking for seconds.
Ready-to-eat Crispy Chicken Fries are best enjoyed fresh, but life happens—so knowing how to store and reheat them properly will keep that crunch intact for your next snack attack. Quick storage hacks ensure you don’t waste a single delicious bite and still enjoy a crisp texture when you’re ready for round two. Read on for foolproof methods to preserve flavor and crunch in any scenario.
Got questions? We’ve rounded up the most common queries about these crispy, crunchy chicken fries to help you nail every batch.
Preparation takes about 10 minutes to slice the chicken and dredge it, plus a 30-minute marinating time in buttermilk. Frying in batches requires 4 to 5 minutes per batch, so overall you’ll spend around 50 minutes from start to finish.
Buttermilk contains mild acids that break down muscle proteins, tenderizing the chicken and helping it retain moisture during frying. It also adds a subtle tangy flavor. Skipping this step can result in drier, less flavorful fries.
Maintain the oil temperature at 180°C (350°F) and avoid overcrowding the pan so each strip cooks evenly. Use panko breadcrumbs for their larger flakes that create a crispier crust. For extra crunch, double-coat by repeating the flour-and-panko steps.
Drop a small pinch of flour into the hot oil; if it sizzles and floats to the surface immediately, the oil is hot enough. Alternatively, a bread cube should turn golden in about 60 seconds at the correct temperature.
Cool the fries to room temperature, then store in an airtight container in the refrigerator for up to 2 days. To reheat, use an air fryer or a preheated oven at 200°C (400°F) for 5–7 minutes to restore crispiness.
Yes. Preheat your oven to 200°C (400°F), place the breaded strips on a lightly oiled baking sheet, and bake for 20–25 minutes, flipping halfway through. They won’t be quite as crispy as deep-fried but will still be tasty and lighter.
You can. After it cools, strain the oil through a fine sieve or cheesecloth to remove crumbs, store it in a sealed container at room temperature, and use within a week for similar frying tasks.
Classic options include ketchup, mayonnaise, honey mustard, barbecue sauce, or a spicy aioli. The neutral-flavored panko crust complements both sweet and tangy sauces.
Crispy Chicken Fries combine the fun finger-food format of fries with tender, flavorful chicken in a snackable package that’s perfect for any occasion. The buttermilk marinade ensures juicy meat, while the double coating of seasoned flour and panko delivers that irresistible crunch. Whether shared at a gathering or savored solo, these fries bring a playful twist to classic fried chicken. Go ahead, print and save this recipe for later, and let me know in the comments if you have questions or feedback after frying up your batch!
Thin chicken strips marinated in tangy buttermilk, double-coated with seasoned flour and panko, then fried to a golden crunch. Each bite cracks with crispiness and reveals juicy, flavorful meat ideal for ketchup or honey mustard dips.

Hi, I'm Matthew Roberts, founder of Food Recipes USA! As a culinary historian and fourth-generation restaurateur, I've dedicated my life to preserving, celebrating, and evolving the rich tapestry of American cuisine.