
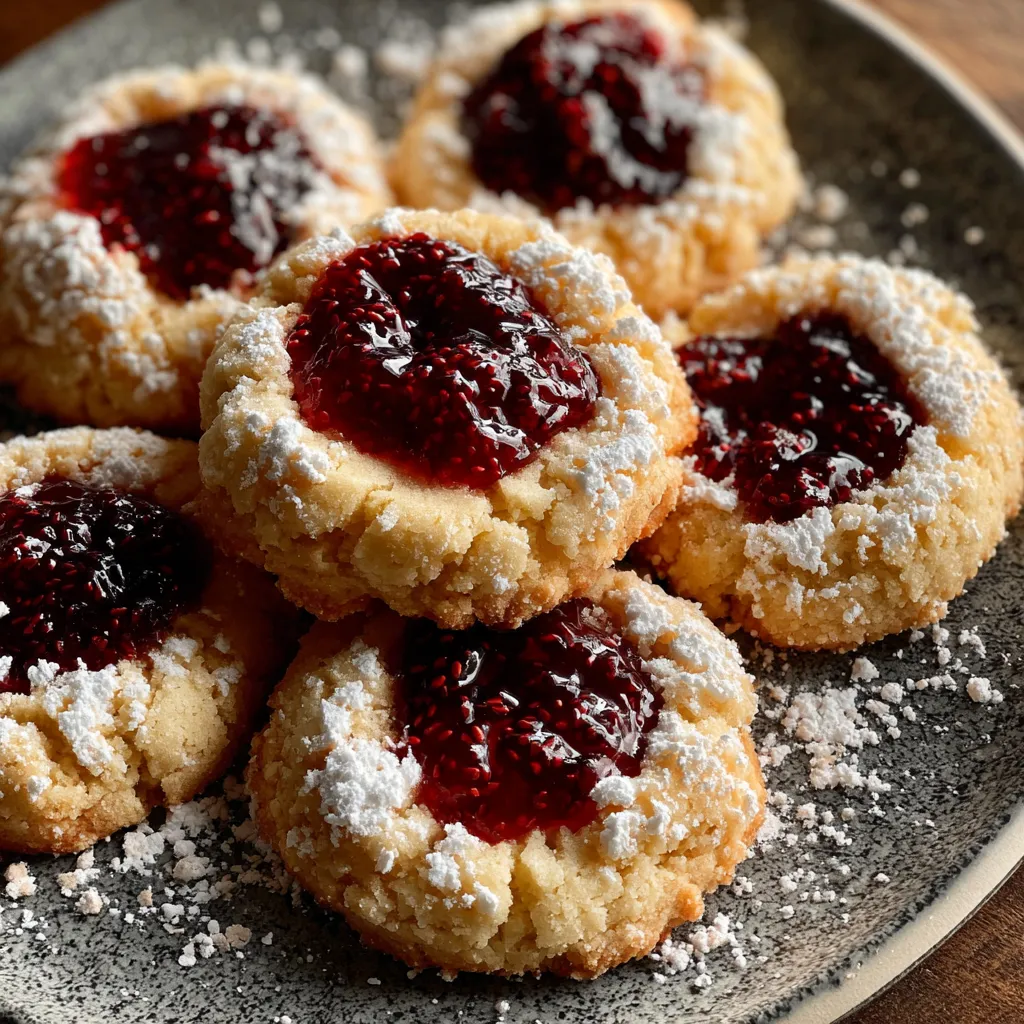
Get ready to fall in love with the perfect balance of buttery, melt-in-your-mouth cookie and sweet, tangy raspberry jam nestled right at the center. These classic thumbprint cookies bring out everyone’s inner kid—no fancy equipment, just simple ingredients and a little thumb action. Whether you’re baking for a party, the holidays, or just your afternoon coffee break, this recipe is a guaranteed crowd-pleaser. Let’s dive into why you’ll adore these jam-filled bites and how you can whip up a batch today.
To create these adorable jam-filled treats, you’ll need quality ingredients that come together to form a tender, buttery base and a jewel-toned filling.
Baking these thumbprint cookies is a straightforward process that takes you from a bowl of simple ingredients to a tray of jewel-topped delights. You’ll preheat the oven, cream butter and sugar, gently fold in dry ingredients, shape the dough, press in jam, and bake until the edges turn just golden. A quick cool-down and optional dust of powdered sugar later, and you’ve got a batch of cookies ready to share.
1. Preheat your oven to 350°F (175°C). Line two baking sheets with parchment paper to prevent sticking and set aside.
2. In a large mixing bowl, cream together the softened unsalted butter and granulated sugar using a hand mixer or stand mixer on medium speed until light and fluffy, about 2–3 minutes.
3. Add in the vanilla extract and mix on low speed until fully incorporated, ensuring an even aroma throughout the dough.
4. In a separate bowl, whisk together the all-purpose flour and salt until evenly combined and free of lumps.
5. Gradually add the dry mixture to the butter mixture, mixing on low speed until just combined. Be careful not to overmix to keep the cookies tender.
6. Using your hands, form the dough into small balls, about 1 inch in diameter, and place them on the prepared baking sheets, leaving about 2 inches between each for spreading.
7. Make an indentation in the center of each dough ball using your thumb or the back of a small spoon to create a well for the jam filling.
8. Fill each indentation with a small spoonful of raspberry jam, taking care not to overfill to avoid overflow in the oven.
9. Bake the cookies in the preheated oven for 12–15 minutes, or until the edges are lightly golden and the centers appear slightly soft.
10. Remove the cookies from the oven and let them cool on the baking sheets for about 5 minutes to firm up before handling.
11. Transfer the cookies to a wire rack to cool completely, then dust lightly with powdered sugar if desired for a sweet, snowy finish.
Once your thumbprint cookies are cool, it’s time to present them in style. Whether you’re hosting a gathering or enjoying a quiet afternoon treat, these serving ideas will make every cookie feel special.
Getting these cookies just right is all about gentle hands and quality ingredients. Make sure your butter is fully softened, but not melting, so the dough holds its shape when forming balls and making indentations. Handle the dough as little as possible to avoid tough cookies, and chill gently if the jam is too runny. These simple pointers will keep your cookies tender, vibrant, and irresistibly cute every time.
Proper storage is key to preserving that just-baked taste and soft texture of your thumbprint cookies. Follow these methods to keep them tasting fresh for days or even months.
Ready to answer the little questions that pop up when you’re making these thumbprint cookies? Here’s a quick FAQ to keep you baking confidently.
A: From start to finish, this recipe takes about 30 minutes of active preparation time and 12–15 minutes of baking time per batch. Allow an additional 5–10 minutes for cooling on the baking sheet and transferring to a wire rack, so estimate around 50 minutes total.
A: Yes, you can use any jam or preserve you like. Apricot, strawberry, or blueberry work beautifully. Ensure the jam is thick enough to stay in the indentation without running too much during baking.
A: Make sure your dough is at room temperature and well-combined but not overmixed. Gently press into the center of each ball with a lightly floured thumb or the back of a small spoon. If the dough cracks, warm your hands slightly or let the dough rest 5 minutes to relax the gluten before re-shaping.
A: Once completely cool, store cookies in an airtight container at room temperature. They will stay fresh and maintain their texture for up to one week. Place a sheet of parchment paper between layers to prevent sticking.
A: Yes. To freeze raw dough, shape into balls, arrange on a tray, and freeze until solid. Transfer to a freezer bag for up to three months. When ready to bake, thaw slightly and press indentations before filling and baking. Baked cookies can also be frozen in an airtight container for up to two months; thaw at room temperature before serving.
A: Overmixing develops too much gluten, resulting in tougher cookies. Mix the dry ingredients into the butter mixture on low speed just until no streaks of flour remain. Stop mixing as soon as the dough comes together.
A: Bake at 350°F (175°C) and watch the cookies closely after 12 minutes. Remove them when the edges turn a light golden hue and the centers still look slightly soft. The residual heat will firm the centers as they cool without overbrowning the edges.
These thumbprint cookies are like little edible gems—each buttery bite yields a burst of raspberry sweetness that never fails to bring a smile. The tender dough shoulders the jam just right, so nothing runs away in the oven. It works every time because the recipe balances simplicity with flavor: basic pantry staples, a quick thumb press, and a colorful jam center that shines. Go ahead, hit print and stash this in your recipe box for fiestas, family brunches, or lazy weekend baking. I can’t wait to hear how they turned out—drop a comment with your favorite jam swap or any questions you have!
Feel the buttery dough give way to a gooey jewel of raspberry jam as the warm cookie melts on your tongue, dusted with a whisper of powdered sugar.

Hi, I'm Matthew Roberts, founder of Food Recipes USA! As a culinary historian and fourth-generation restaurateur, I've dedicated my life to preserving, celebrating, and evolving the rich tapestry of American cuisine.