
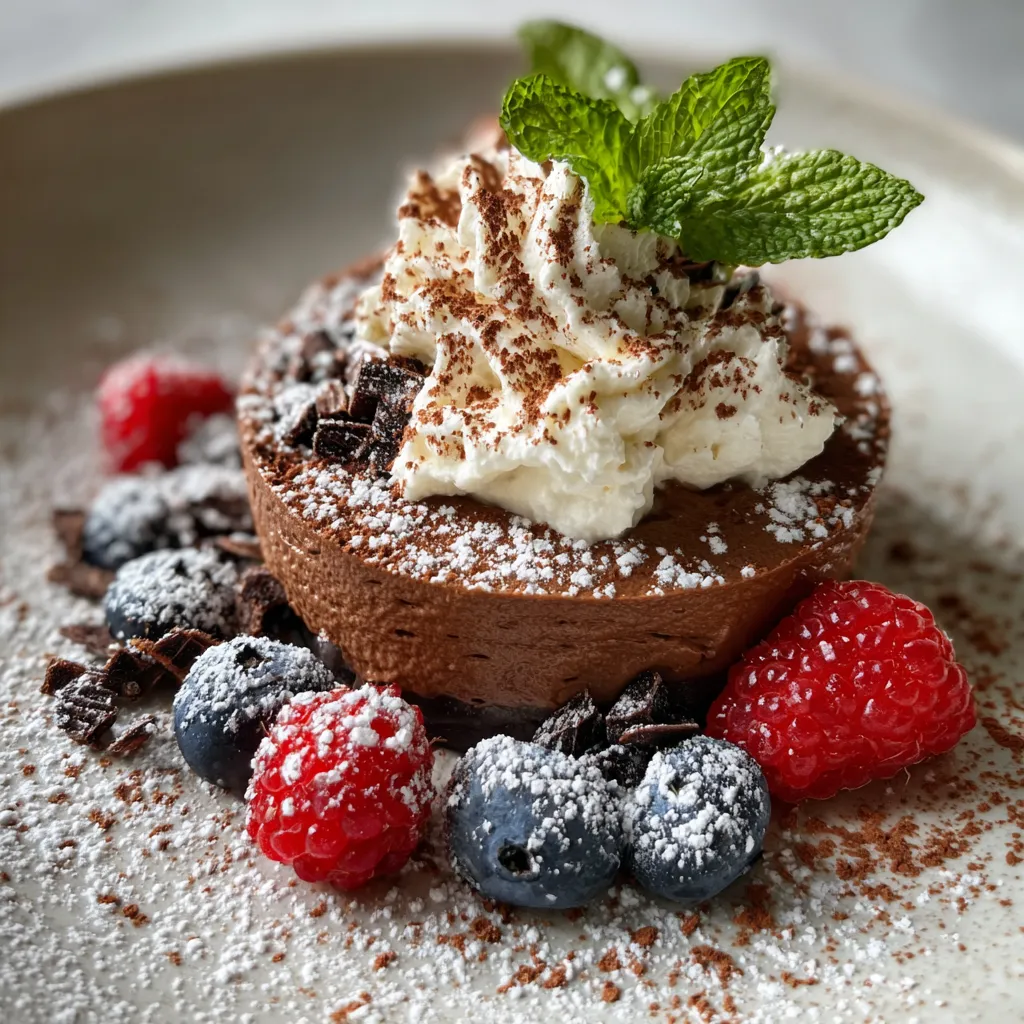
Craving something airy yet indulgent? Chocolate Mousse Filling delivers luxurious ribbons of airy chocolate that melt on the tongue, perfect for elevating your cakes and tarts. This intermediate-level dessert blends silky melted dark chocolate with light whipped cream and egg whites, creating a pillowy texture and a deep cocoa flavor that transforms any treat. Grab your whisk and let’s dive into this rich and playful filling adventure!
Gathering the right components ensures your Chocolate Mousse Filling turns out light, creamy, and bursting with cocoa goodness.
Creating this Chocolate Mousse Filling feels like a fun kitchen experiment. In just a few simple stages—melting, whipping, and folding—you’ll achieve that dreamy, airy texture. Whether you spoon it into layers of cake or pipe it into tarts, following these detailed steps will ensure your mousse holds its shape while staying light. Grab your bowls and let’s dive into the method that transforms simple ingredients into a decadent, pillowy filling perfect for elevating any dessert creation.
1. Chop the dark chocolate into small, even pieces and place them in a heatproof bowl set over simmering water (double boiler). Stir gently until the chocolate is fully melted and smooth, then remove from heat and let it cool slightly to prevent deflating the mousse.
2. In a chilled bowl, pour the heavy cream and add the vanilla extract. Use an electric mixer to whip until soft peaks form, meaning the peaks gently fold over when you lift the whisk. Transfer the whipped cream to the refrigerator to stay firm.
3. In another clean, dry bowl, combine the egg whites and granulated sugar. Whisk with an electric mixer until you achieve stiff, glossy peaks that stand straight up without drooping.
4. Use a flexible spatula to gently fold the whipped cream into the melted chocolate in two additions, mixing just until mostly combined to keep the mixture light.
5. Carefully fold in the whipped egg whites by cutting through the center of the mixture and lifting the batter over itself, rotating the bowl until no white streaks remain.
6. Spoon or transfer the mousse into piping bags or individual containers. Refrigerate for at least 2 hours until fully set before using as a luxurious filling.
Once your mousse is perfectly set, the fun part is serving it in style! Whether you’re finishing a cake or offering individual desserts, these ideas will help you showcase that airy texture and deep chocolate flavor.
Mastering Chocolate Mousse Filling isn't just about following steps; it's in the details that you’ll elevate from good to unforgettable. Starting with premium chocolate ensures a depth of flavor that shines through every airy bite. Don't skimp on chilling your mixing tools—cold bowls and whisks mean more volume when whipping cream. And when it comes to combining elements, a light touch is crucial: a gentle fold preserves the precious air bubbles that give mousse its cloud-like texture. Finally, planning ahead by making the mousse a day early reduces stress on the big day and allows the flavor to mature. Keep these friendly tips in mind, and you'll impress everyone with your silky-smooth creation.
Proper storage ensures your Chocolate Mousse Filling maintains its light texture and rich flavor until you’re ready to use it. Follow these simple methods to keep it fresh and delicious.
Here are quick answers to common questions about mastering your Chocolate Mousse Filling:
A: Use high-quality dark chocolate with at least 60–70% cacao content. Higher cocoa percentages give a richer, more intense flavor, while premium chocolates melt smoothly. Avoid bars with added fillers or low cocoa solids to prevent graininess.
A: Active preparation takes about 20–25 minutes, including chopping chocolate, melting, whipping the cream and egg whites, and folding. After assembly, the mousse must chill in the refrigerator for at least 2 hours to set properly, so plan for roughly 2 hours and 30 minutes total.
A: Granulated sugar helps stabilize the egg whites and achieve glossy, stiff peaks. You may use superfine sugar for faster dissolution. Avoid liquid sweeteners like honey or maple syrup, as they can prevent proper aeration and affect the mousse’s structure.
A: For the cream, lift the whisk—peaks should form and hold briefly but the tip bends over slightly. For egg whites, lift the whisk and the peaks should stand straight up without drooping, with a smooth, glossy appearance.
A: Use a spatula to cut through the center of the mixture, then lift and fold the mixture over itself, rotating the bowl slightly each time. Fold just until no white streaks remain. Overmixing will deflate the air incorporated in the cream and egg whites, leading to a dense mousse.
A: Yes, you can make the mousse up to one day ahead. Transfer it to an airtight container or cover the mixing bowl tightly with plastic wrap. Keep it refrigerated until ready to use, and gently stir before piping if it has settled.
A: If the mousse feels too firm, let it sit at room temperature for 10–15 minutes to soften slightly. Do not microwave, as heat will melt the chocolate and ruin the texture. Once pliable, gently whisk by hand to restore lightness before piping or spreading.
This Chocolate Mousse Filling is your passport to dessert elegance, combining silky chocolate with feather-light whipped cream and egg whites. Its secret weapon? The gentle folding technique that keeps every bite airy yet decadently rich. Whether you’re layering it in a cake or dolloping it atop a tart, this intermediate dessert will leave taste buds shimmying with delight. Go ahead—print this article, stash it in your recipe binder, and let me know in the comments how your mousse adventure unfolds!
This rich mousse filling blends silky melted dark chocolate with light whipped cream and egg whites, creating a pillowy texture and deep cocoa flavor that transforms any dessert.

Hi, I'm Matthew Roberts, founder of Food Recipes USA! As a culinary historian and fourth-generation restaurateur, I've dedicated my life to preserving, celebrating, and evolving the rich tapestry of American cuisine.